

Implementing HTTP Basic Authentication in a Spring Boot REST API
1 CommentLast Updated on January 5, 2021 by jt
Spring Boot REST APIs have different types of clients accessing from different locations. At times, these APIs need to perform tasks to generate and share sensitive data. Now all clients should not get access to such data, but only a privileged set of clients should. In such scenarios, you need to secure your REST API.
One approached to secure REST API is using HTTP basic authentication.
In this post, I will demonstrate how to restrict access to sensitive data using HTTP basic authentication.
The Basic Application
The basic application is a Spring Boot REST API that contains a single controller.
The controller code is this.
SecureMessegeController.java
package com.springframeworkguruhttpauthentication.BasicAuthentication.controller;

import org.springframework.web.bind.annotation.GetMapping;
import org.springframework.web.bind.annotation.RequestMapping;
import org.springframework.web.bind.annotation.RestController;

import java.security.SecureRandom;

@RestController
public class SecureMessegeController {
    @GetMapping("/api/v1/password")
    public String GenerateRandomPassword() {

        String generatedPassword = generatePassword(8);

        return generatedPassword;
    }

    private String generatePassword(int len) {
        // ASCII range - alphanumeric (0-9, a-z, A-Z)
        final String chars = "ABCDEFGHIJKLMNOPQRSTUVWXYZabcdefghijklmnopqrstuvwxyz0123456789";

        SecureRandom random = new SecureRandom();
        StringBuilder sb = new StringBuilder();

        // each iteration of loop choose a character randomly from the given ASCII range
        // and append it to StringBuilder instance

        for (int i = 0; i < len; i++) {
            int randomIndex = random.nextInt(chars.length());
            sb.append(chars.charAt(randomIndex));
        }
        return sb.toString();
    }
}
In the preceding controller code, the generatePassword()method generates and returns a Stringpassword.
Whenever a request arrives, theGenerateRandomPassword()method invokes the generatePassword()method and returns back the generated password.
Let’s run the application and see the output.
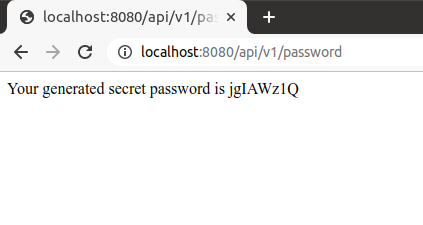
As you can see any user can access the application and retrieve the secret password.
This is obviously something we don’t want. So, let’s go ahead and secure the REST endpoint with basic HTTP authentication.
Setting Up Spring Security Dependency
The first step is to include the Spring Security dependency to the project.
Open the pom.xml file, and add the dependency of Spring security, like this.
<dependency>
     <groupId>org.springframework.boot</groupId>
     <artifactId>spring-boot-starter-security</artifactId>
</dependency>
Let’s now try to again access the REST endpoint, with the following URL: http://localhost:8080/api/v1/password
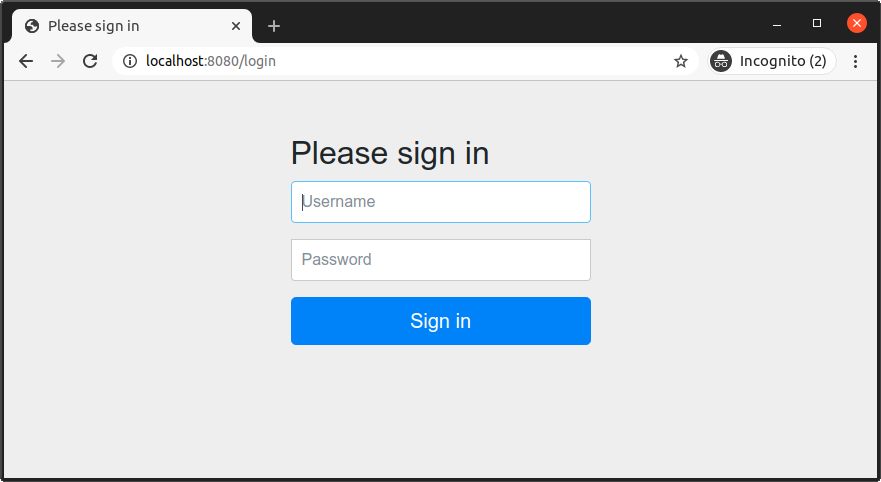
As you can see the browser presents a login screen. Enter any username and password and try to sign in. You will see that the Sign In screen displays a bad credential message.
Restart the application. The console displays a default Spring generated password, like this.

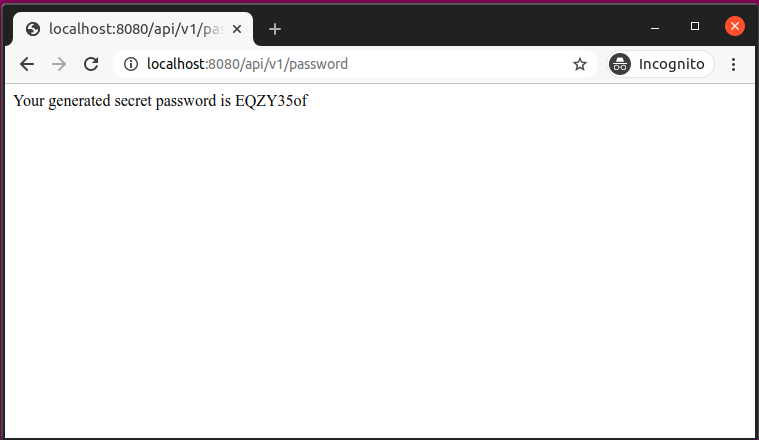
Now login with the default username userand the application generated password.
The browser displays the randomly generated password after successful authentication.
Demonstrate from Postman
Browsers are not only the client for REST APIs.
Clients can be other software tools like Postman and other HTTP client Libraries available in the marketplace.
To use the Spring security feature from Postman:
- Click the Authorization tab.
- Select Basic Auth from the Type drop-down list. The Authorization tab displays fields to specify a user name and password.
- Type
userin the Username field and type the password generated in the IntelliJ IDEA console in the Password field.
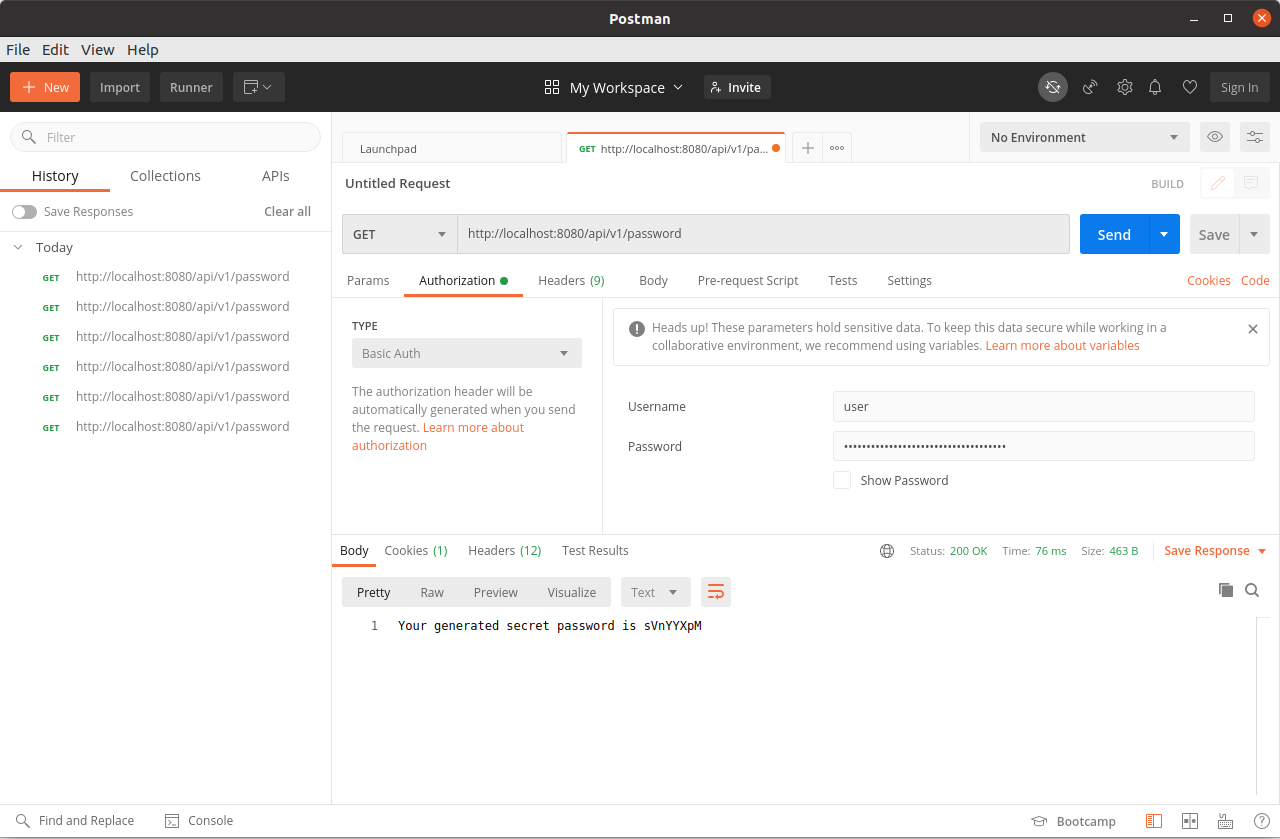
Click the Send button. The Body tab will display the encoded password.
Customizing User Name and Password
You typically won’t use can Spring security password but rather have your own password. You can do this in the application.propertiesfile of the application.
To customize the user name and password open the application.propertiesfile and add the following code to it.
application.propertiesspring.security.user.name = admin
spring.security.user.password = password
Once you specify the username and password in the application.properties file, rerun the application. Notice that this time the application will not generate the password.
Now you can access the REST endpoint, by typing your customized username and password.
Summary
HTTP basic authentication is a trivial way and not used in serious production systems. In Enterprise-grade REST APIs, you would probably be using JSON Web Token (JWT) or OAuth2.
You can find the source code of this post on Github.
For in-depth knowledge Spring Security check my Udemy Best Seller Course Spring Security Core: Beginner to Guru.


Junior
Thankyou, this is a great guide! Makes it so simple, other guides add some other complexities, but for a beginner this is very nice. Only thing is i saw this:
application.propertiesspring.security.user.name = admin
spring.security.user.password = password
should be:
spring.security.user.name = admin
spring.security.user.password = password
You have it already but looks like a typo.
Thanks,
Jr