Spring State Machine
0 CommentsLast Updated on September 10, 2021 by jt
The Spring framework has a library called Spring State Machine which is a model of computation that depends on the finite states.
It can only be in one state at a given time, hence it is also called a finite state machine.
The transitions of this State Machine are the changes in the status of the state.
In the implementation of any software project, you will always require a well-formed application architecture. Besides this, the core functionalities along with the application states need to be managed well. To manage these states, Spring State Machine is always a good choice. This interaction of the states with the Spring State Machine occurs by sending an event, listening for changes, or simply requesting a current state.
In this post, I will introduce you to the Spring State Machine.
Maven Dependency
Spring State Machine requires a dependency on the core module spring-statemachine-core to be added in your pom.xml file.
<dependency>
   <groupId>org.springframework.statemachine</groupId>
   <artifactId>spring-statemachine-core</artifactId>
   <version>2.1.3.RELEASE</version>
</dependency>
Spring State Machine Example
SSM or Spring State Machine has 2 ways of implementing states and events.
- String
- Enumeration
Defining the Events and States
In Enumeration, states and events are hardcoded to for type safety.
This is the code for events of the BlogEvents Enumeration.
BlogEvents
package guru.springframework.domain;

public enum BlogEvents {
   EDIT_BLOG,
   PUBLISH_BLOG
This is the code for states of the BlogStates Enumeration.
BlogStates
package guru.springframework.domain;

public enum BlogStates {
   UNEDITED_BLOG,
   EDITING_IN_PROGRESS,
   BLOG_EDITED,
   BLOG_PUBLISHED
}
Configuring the State Machine
The next step is to configure the Spring State Machine.
The code for the StateMachineConfig class is this.
StateMachineConfig.java
@Configuration
@EnableStateMachine
public class StateMachineConfig extends EnumStateMachineConfigurerAdapter<BlogStates, BlogEvents> {

   @Override
   public void configure(StateMachineStateConfigurer<BlogStates, BlogEvents> states) throws Exception {
       states.withStates()
             .initial(BlogStates.UNEDITED_BLOG)
             .states(EnumSet.allOf(BlogStates.class));
   }

 @Override
   public void configure(StateMachineTransitionConfigurer<BlogStates, BlogEvents> transitions) throws Exception {
       transitions
              .withExternal()
              .source(BlogStates.UNEDITED_BLOG)
              .target(BlogStates.EDITING_IN_PROGRESS)
              .event(BlogEvents.EDIT_BLOG)
              .and()
              .withExternal()
              .source(BlogStates.EDITING_IN_PROGRESS)
              .target(BlogStates.BLOG_EDITED)
              .event(BlogEvents.EDIT_BLOG)
              .and()
              .withExternal()
              .source(BlogStates.BLOG_EDITED)
              .target(BlogStates.BLOG_PUBLISHED)
              .event(BlogEvents.PUBLISH_BLOG)
              .and()
              .withExternal()
              .source(BlogStates.BLOG_PUBLISHED)
              .target(BlogStates.BLOG_EDITED)
              .event(BlogEvents.EDIT_BLOG) ;
   }

@Override
public void configure(StateMachineConfigurationConfigurer<BlogStates, BlogEvents> config) throws Exception {
   config.withConfiguration()
         .autoStartup(true)
         .listener(new Listener());
}
Line 1 uses @Configuration annotation to specify that it is a Configuration class.
Line 2 has @EnableStateMachine annotation which will automatically create a default state machine when the application starts.
In some scenarios it is useful to start an instance of State Machine depending on a business logic. In that case the configuration must be annotated as a factory with @EnableStateMachineFactory annotation.
The @Configurationclass extends adapters (EnumStateMachineConfigurerAdapter or StateMachineConfigurerAdapter), which lets you override configuration callback methods.
Here, in Line 6 – I have extended EnumStateMachineConfigurerAdapter and overridden 3 methods.
In Line 8 – 9 the State-configurer method() adds the states using a configuration method while initial- and end- states are optional and can be omitted. The initial state is assigned immediately after the State Machine is created.
Line 13 – 33 Using StateMachineTransitionConfigurer interface you mention transitions from one state(source) to another state(target) based on events triggered (event) . withExternal() is transition from one state to another state where as withInternal() is transition from state to same state.
In Line 38-39 I specified properties for autostartup and added a listener for listening events using StateMachineConfigurationConfigurer interface as argument. It is used to track state changes and here it is only used to print out the current state.
Setting up the Listener class
The code for the Listener Class is this.
Listener.java
public class Listener extends StateMachineListenerAdapter<BlogStates,BlogEvents> {
   @Override
   public void stateChanged(State<BlogStates, BlogEvents> from,     State<BlogStates, BlogEvents> to) {
       System.out.println("state changed from " + to.getId());
   }
}
Here, the listener is built on a separate adapter StateMachineListenerAdapter.
Setup and Run the Application
After the configuration is done, a typed instance of StateMachine<States, Event> can immediately be accessed and autowired to the business logic. An initial state States.UNEDITED is already triggered.
Driving a State Machine is realized via transitions that are triggered by the appropriate events.
The code for the SpringStateApplication class is this.
SpringStateApplication.java
 @SpringBootApplication
@EnableStateMachine
public class SpringStateMachineApplication implements CommandLineRunner {

   private final StateMachine<BlogStates, BlogEvents> stateMachine;

   @Autowired
   public SpringStateMachineApplication(StateMachine<BlogStates, BlogEvents> stateMachine) {
       this.stateMachine = stateMachine;
   }

   public static void main(String[] args) {
       SpringApplication.run(SpringStateMachineApplication.class, args);
   }

   @Override
   public void run(String... args) {
       stateMachine.start();
       stateMachine.sendEvent(BlogEvents.EDIT_BLOG);
       stateMachine.sendEvent(BlogEvents.PUBLISH_BLOG);
       stateMachine.stop();
   }
}
In the run method, you can send events using State Machine in 2 ways.
Here, in Line 19-20 I have used the first method of sending a type safe event using the state machine api method.
The other way is to send event wrapped in a Message using api method with custom event headers.
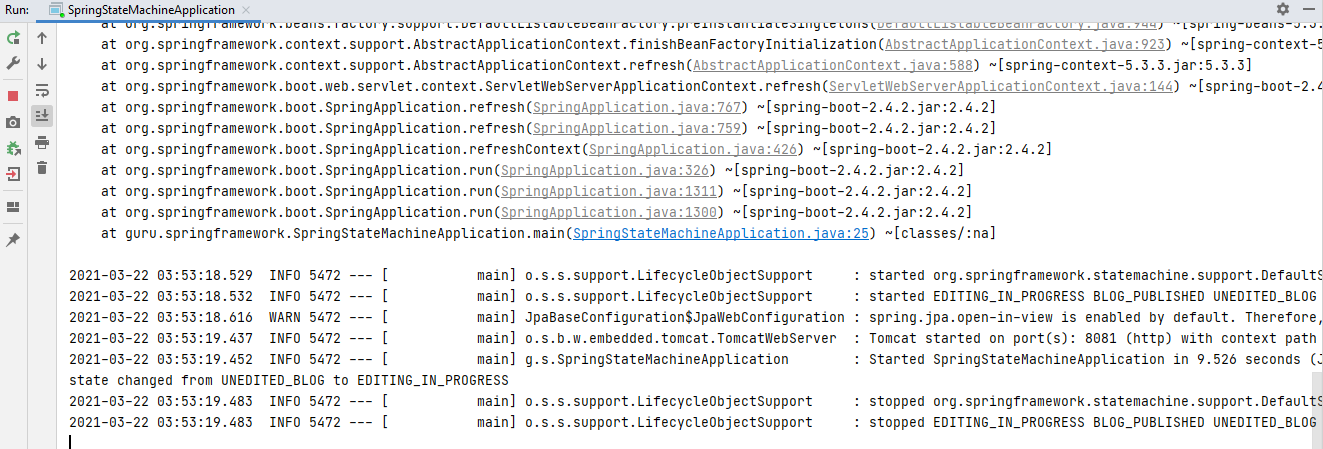
The state gets changed on running the application successfully. The target EDITING_IN_PROGRESSis achieved here.
Summary
States and events within a single Spring State Machine are really simple to understand. Spring State Machine finds its uses in IOT, Bots and many more areas of application. To check if the transition is allowed or not, you can nest the states and configure the guards and the events can be triggered by the actions, or on a timer.
The topic is just scratched here, there are ample amount of things to explore further.
You can find the source code of this post on Github
To have a deeper insight on the Spring State Machine, you can check my Udemy Best Seller Course on Spring Boot Microservices with Spring Cloud Beginner to Guru