Spring for Apache Kafka
0 CommentsLast Updated on February 4, 2022 by jt
Apache Kafka is an open-source Message Bus that solves the problem of how microservices communicate with each other. Spring for Apache Kafka, also known as spring-kafka. It is a project that applies core Spring concepts to Kafka-based messaging solutions. Spring-kafka provides templates as high-level abstractions to send and consume messages asynchronously.
In this post, you will learn how to use Spring for Apache Kafka in a Spring Boot application to perform asynchronous messaging.
Installation
Install Apache Kafka.
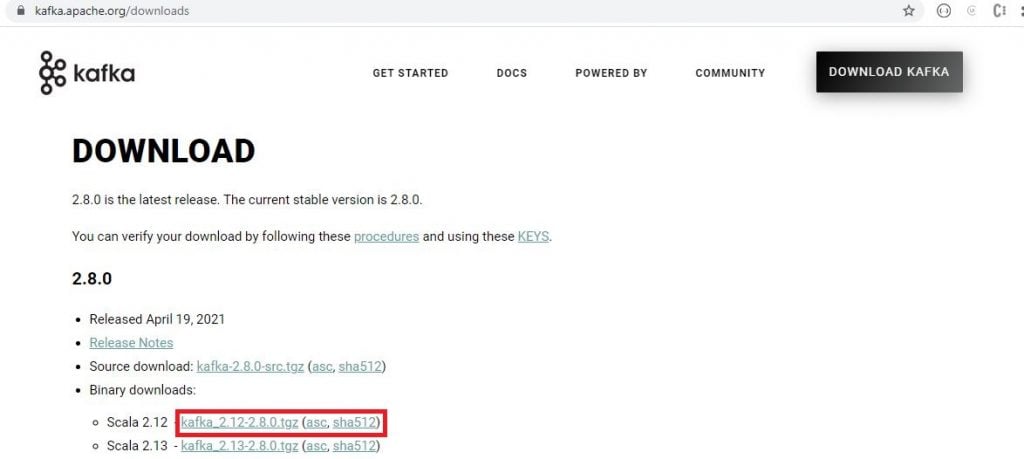
Download any stable version of Kafka from here.
Unpack the downloaded bundle
Next, unpack a tgz (zipped tar) file like this.
tar -xzf filename.tgz
On running the command, you can see the extracted Kafka folder in the below image.
Note: If you are familiar with Docker, you can use a pull the kafka image from Docker Hub and start the container.
Maven Dependency
Next, you will require the spring-kafka dependency in your project’s pom.xml.
 <dependency>
     <groupId>org.springframework.kafka</groupId>
     <artifactId>spring-kafka</artifactId>
 </dependency>
Apache Kafka Demo
You must know the following basic terminologies common across messaging systems.
- Producer: Process that publishes messages to a topic.
- Consumer: Process that subscribes to one or more topics and consumes messages published to those topics.
- Topic: Category/feed with a unique name to manage messages. It is part of the messaging system – Kafka in our use case.
Therefore, creating a Producer will be the first step in our implementation.
I have creates a KafkaSender service class that acts as the message producer. The code for the KafkaSender class is this.
KafkaSender.java
@Service
public class KafkaSender {

	@Autowired
	private KafkaTemplate<String, String> kafkaTemplate;

	String kafkaTopic = "sample_topic_spring_boot_with_kafka";

	public void send(String data) {

	    kafkaTemplate.send(kafkaTopic, data);
	}
}
The preceding code auto-wires KafkaTemplate that is a thin wrapper around a Kafka producer. This template is a Spring Bean to support Spring features, like dependency injection and automatic configuration. Additionally, KafkaTemplate provides a number of convenient methods for producing on Kafka topics. The code uses this instance to publish messages on the topic named as sample_topic_spring_boot_with_kafka.
Next, I have created a REST controller. This controller is responsible to accept messages from clients to be published on the Kafka topic. The code for the Controller class is this.
ApacheKafkaWebController.java
@RestController
@RequestMapping(value = "/springboot-apachekafka/")
public class ApacheKafkaWebController {

  @Autowired
  KafkaSender kafkaSender;

  @GetMapping(value = "/producer")
  public String producer(@RequestParam("message") String message) {
     kafkaSender.send(message);

     return "Message sent to the Kafka Topic Successfully";
  }
}
Here, we have created a REST controller with a single endpoint. It will pass the message and
trigger the message sending to the Kafka Topic using the autowired KafkaSender class.
This is the code for Main Class.
KafkaDemoApplication.java
@SpringBootApplication
public class KafkaDemoApplication {

   public static void main(String[] args) {

       SpringApplication.run(KafkaDemoApplication.class, args);
   }
}
Test Messaging
Now we will start Kafka and test what we have done till now.
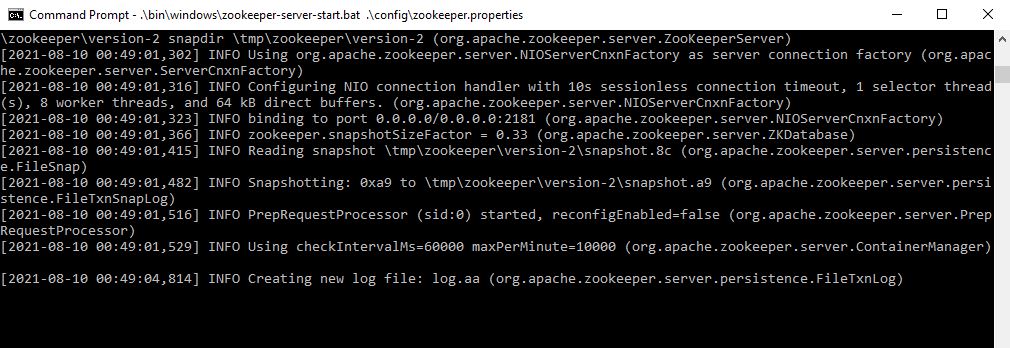
The first step is to start Apache Zookeeper. When working with Apache Kafka, ZooKeeper is responsible to track the status of nodes in the Kafka cluster and maintain a list of Kafka topics, partitions, messages, and so on.
In the command prompt or terminal go to the path where Kafka is installed and enter the following command:
.\bin\windows\zookeeper-server-start.bat .\config\zookeeper.properties
Next, start Apache Kafka.
In another terminal or command prompt instance, enter the following command to start Apache Kafka.
.\bin\windows\kafka-server-start.bat .\config\server.properties
Let us now run the Spring Boot Application.
Start the inbuilt-Kafka consumer for listening to the sample_topic_spring_boot_with_kafka topic using the following command:
.\bin\windows\kafka-console-consumer.bat --bootstrap-server localhost:9092 --topic sample_topic_spring_boot_with_kafka --from-beginning
In the browser, hit the url at http://localhost:8080//springboot-apachekafka/producer?message=test
After you hit the url, it will produce the message to the sample_topic_spring_boot_with_kafka.The consumer console listening to the topic will consume the message and display it, like this.
Summary
In this post, we covered the basics of Spring support for Apache Kafka. We next created a Spring Boot message producer. In the next part, I will cover how to create a consumer in Spring Boot to consume messages from topics.
You can find the source code of this post here on Github.
For in-depth knowledge on Spring Boot microservices interaction using a message bus, you can check my Udemy Best Selling Course Spring Boot Microservices with Spring Cloud Beginner to Guru


